Last updated: March 2026 | Reading time: 5 minutes
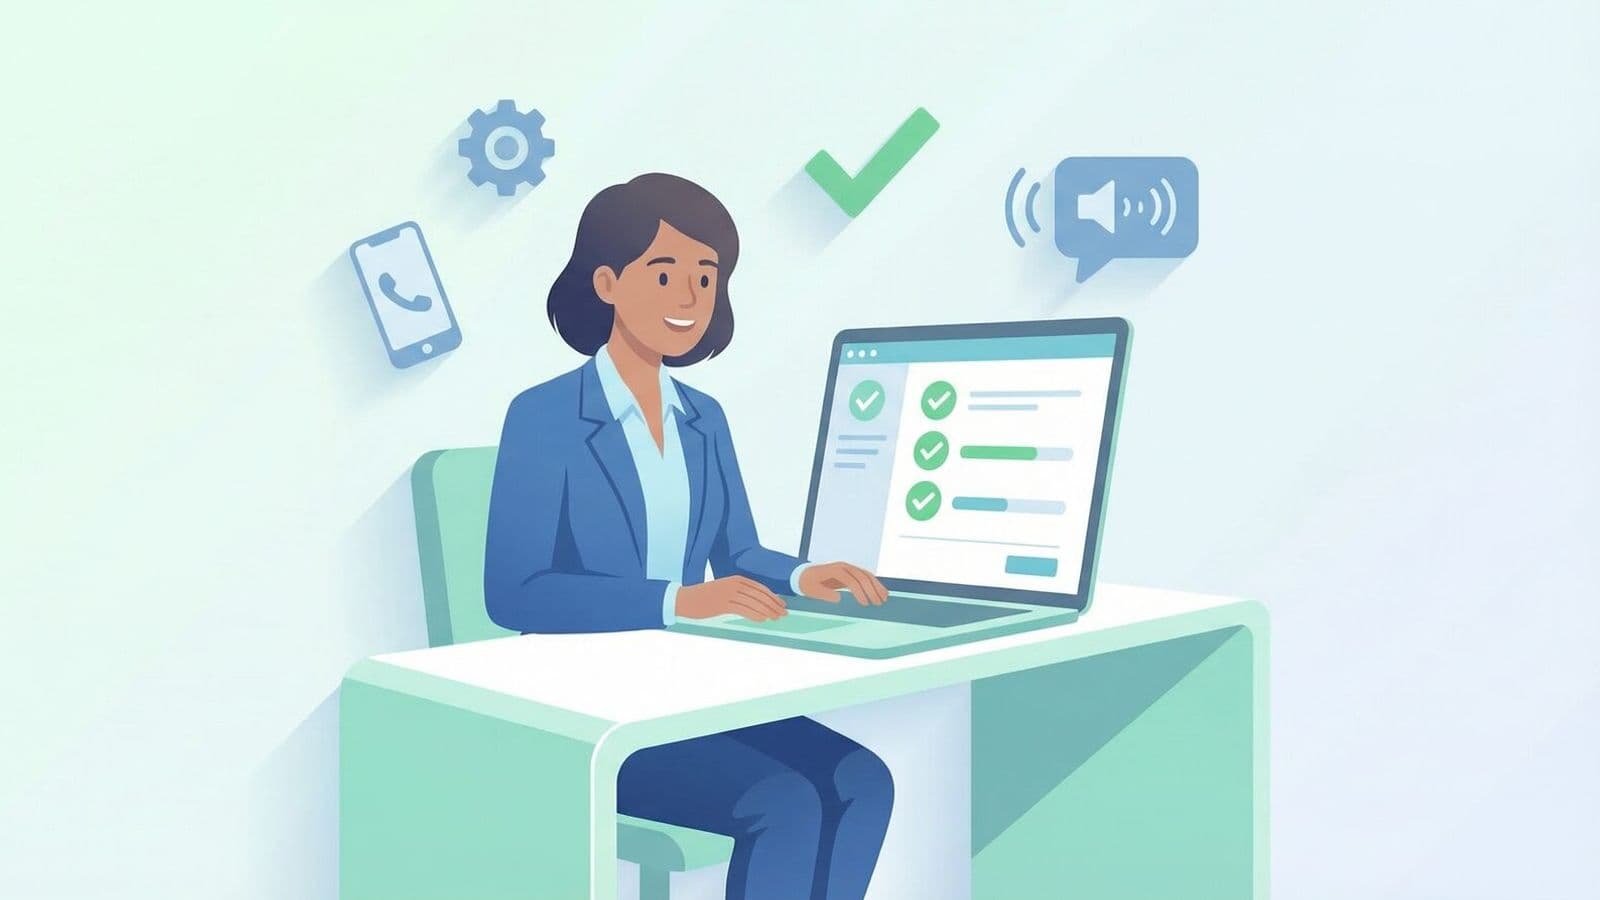
Setting up an AI phone agent is easier than most people think. No coding skills, no months-long implementation, no IT team required. With modern no-code platforms like Chatbyte, your AI phone agent is ready to go in under 30 minutes.
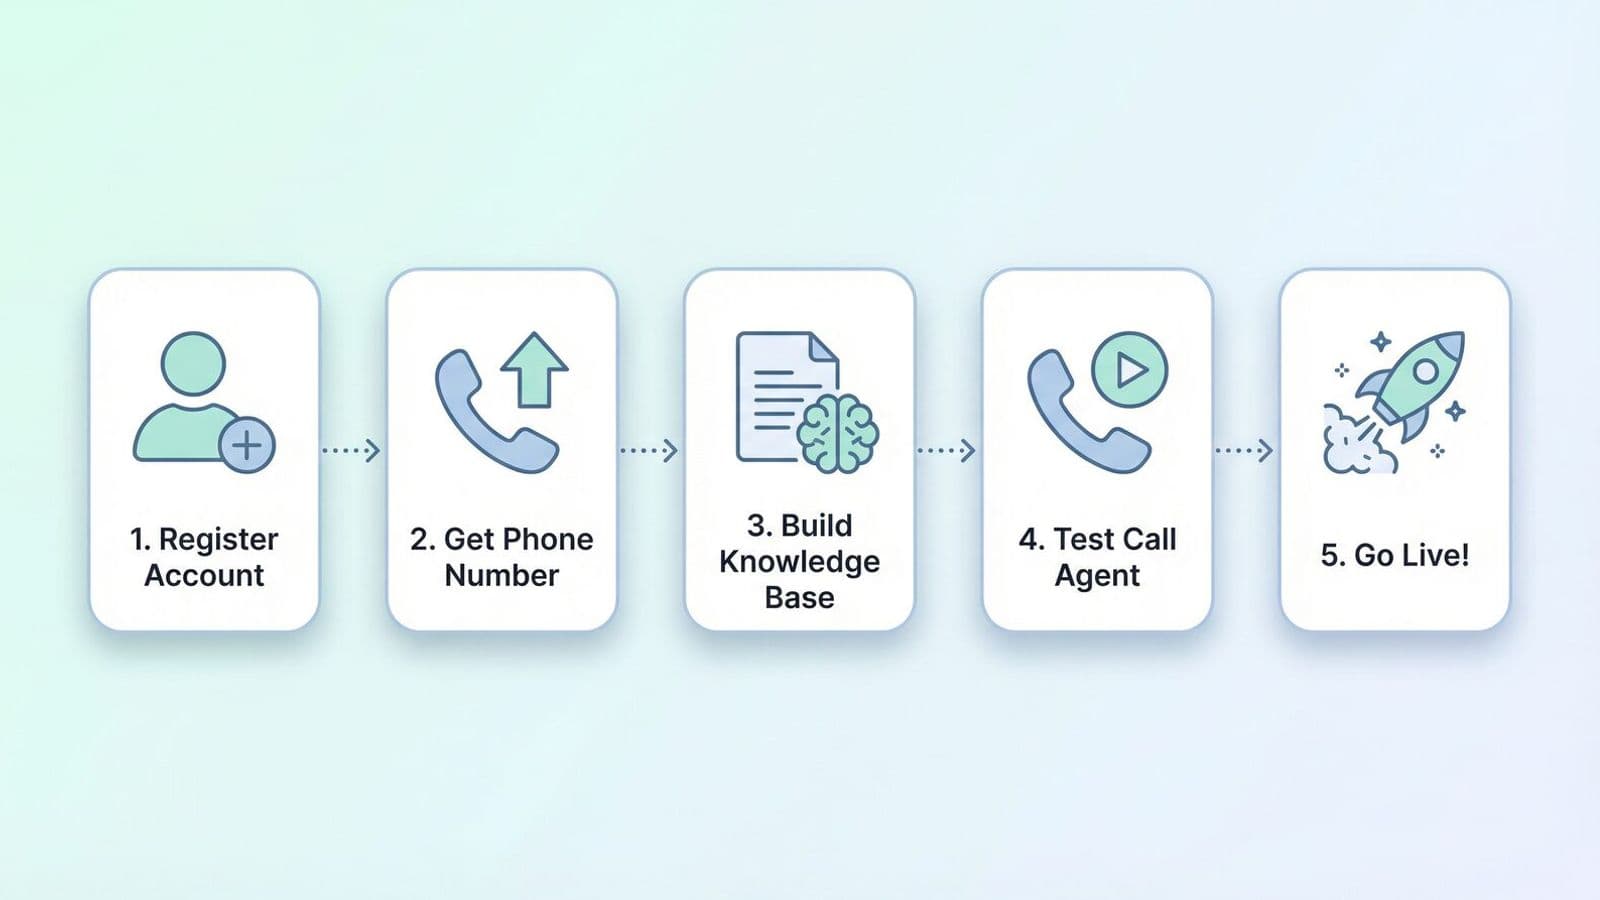
The 5 Steps at a Glance
Step | Task | Time Required |
|---|---|---|
1 | Create account | 2 minutes |
2 | Set up phone number | 3 minutes |
3 | Build knowledge base | 15 minutes |
4 | Make a test call | 5 minutes |
5 | Go live | 2 minutes |
Step 1: Create Your Account
Register on the platform of your choice. With Chatbyte, an email address is all you need – no credit card required. After registration, you go straight to the dashboard where you can configure your first phone agent.
Step 2: Set Up Your Phone Number
You have two options: get a new phone number from the platform or forward your existing business number. Most providers offer local numbers for Germany, Austria and Switzerland. With Chatbyte, you can also connect an existing number via call forwarding – without switching providers.
Step 3: Build Your Knowledge Base – The Most Important Step
This step determines the quality of your phone agent. You provide the information the assistant needs to competently answer calls.
Information Type | Examples |
|---|---|
Company data | Name, address, opening hours, contact details |
Products/services | Offerings, prices, availability |
Common questions | FAQ catalogue with standard answers |
Appointment booking | Available times, booking rules, calendar integration |
Escalation rules | When to transfer to a human agent? |
With Chatbyte, you can enter your website URL and the AI automatically extracts the relevant information. Alternatively, upload a PDF or FAQ list.
Step 4: Make a Test Call
Before going live, test your assistant with a trial call. Check the greeting, whether questions are answered correctly, whether appointment booking works, and whether the transfer to staff functions properly. Most platforms offer an integrated test function directly in the dashboard.
Step 5: Go Live
Once the test is successful, switch the assistant to live mode. From now on, it answers incoming calls – around the clock, including weekends and public holidays.
Integrations: CRM, Calendar and More
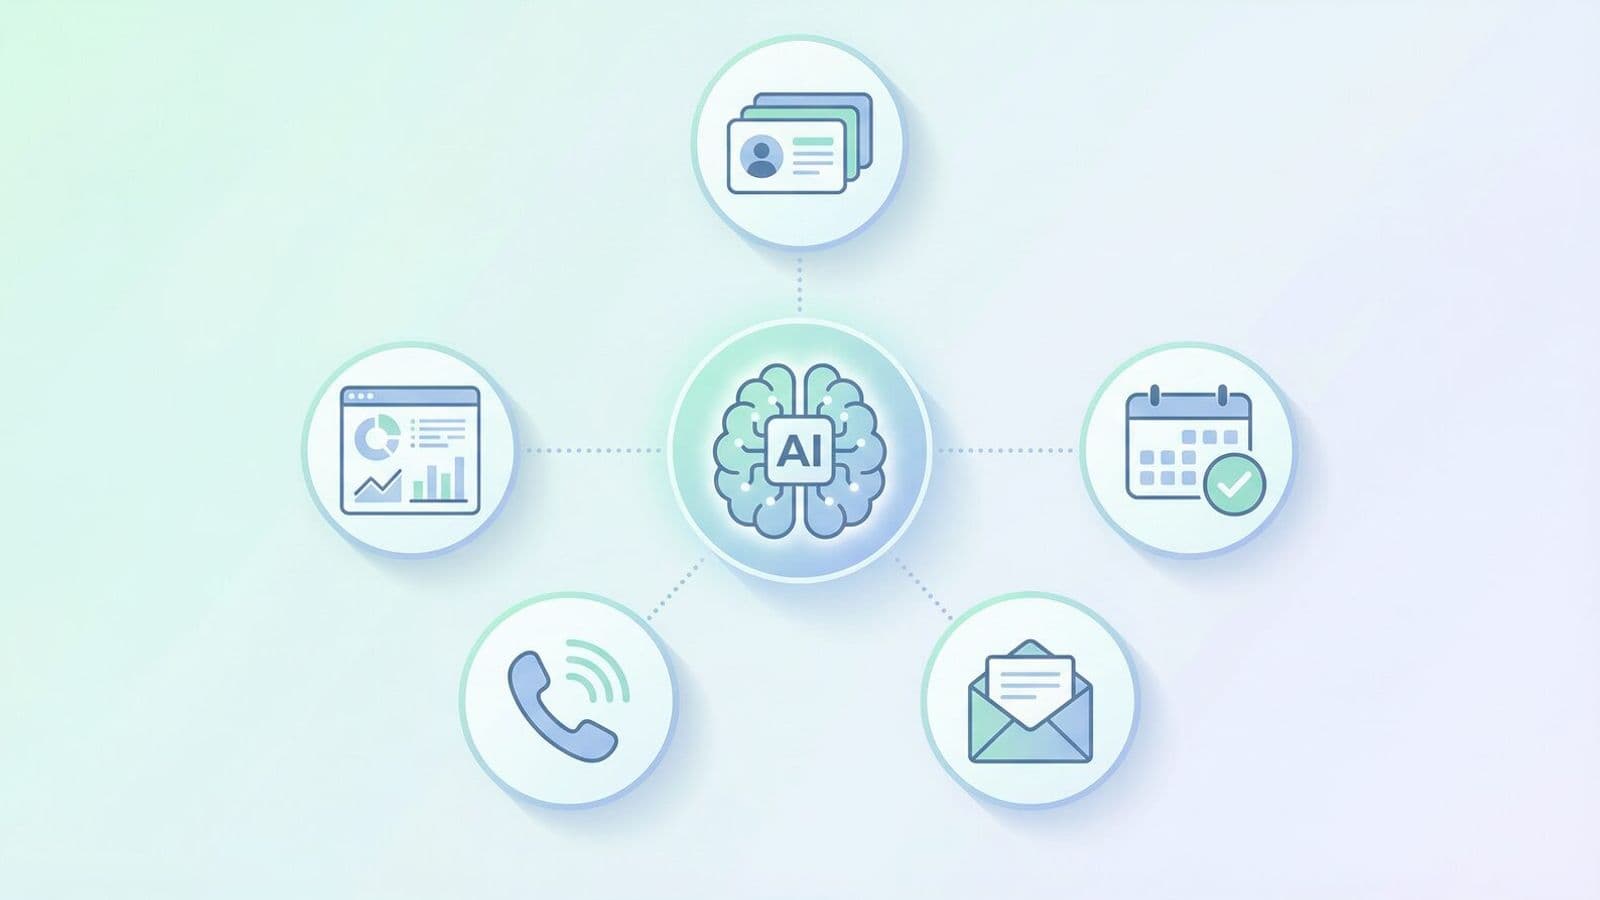
An AI phone agent reaches its full potential through integrations with your existing systems.
Integration | Benefit |
|---|---|
Google Calendar / Outlook | Automatic appointment booking |
CRM (HubSpot, Salesforce) | Transfer leads directly to CRM |
Summary after each call | |
Follow-up messages to callers | |
Slack / Teams | Real-time notifications |
Common Setup Mistakes
Avoid these three common mistakes: First, an insufficient knowledge base – the more relevant information you provide, the better the assistant responds. Second, missing escalation rules – clearly define when a call should be transferred to a human. Third, no test call – always test before going live.
FAQ
Do I need coding skills? No. Modern platforms like Chatbyte are fully no-code. Setup is done via drag-and-drop and text fields.
How long does setup take? Typically under 30 minutes. For more complex requirements (e.g. CRM integration), allow 1–2 hours.
Can I adjust the assistant at any time? Yes. Changes to the knowledge base, greeting texts or escalation rules are possible at any time and take effect immediately.
Set up your AI phone agent in 30 minutes – try free: www.chatbyte.ai